Welcome back to The Healthy Plate Lab! Today, we are tackling a classic breakfast staple that often feels off-limits to those navigating multiple dietary restrictions: the waffle. For too long, “vegan” and “gluten-free” (GF) have been synonymous with dense, gummy, or flavorless baked goods. Our philosophy here is that everyone deserves a satisfying, golden, crispy waffle, regardless of allergies or lifestyle choices.
The challenge in creating a perfect vegan, GF waffle lies in the structure. Traditional recipes rely heavily on gluten for elasticity (trap the air bubbles) and eggs for binding and structure (rise and crispiness). When you remove both, you are often left with a heavy batter that refuses to crisp up and sticks stubbornly to the iron.
Our “Lab” approach wasn’t to find a single replacement, but to create a synergistic blend. We focused on a balanced flour mix—oat and almond—for flavor, tenderness, and fiber. We then harnessed the power of aquafaba (the liquid from a can of chickpeas) for fat and structure, and a tiny amount of psyllium husk to mimic gluten’s binding, without making it rubbery. The result is a waffle that has a profound crunch on the outside, a light, tender crumb inside, and enough structure to hold up to maple syrup and fruit.
This recipe isn’t just about ‘removing’ things; it’s about adding intelligent nutrition. These waffles are high in fiber, provide plant-based protein from the almond flour, and are entirely free of refined sugars, using a hint of maple or coconut sugar within the batter. We are redefining indulgence, proving that a ‘Healthy Plate’ can be synonymous with absolute culinary satisfaction.
Ingredients & Nutritional Benefits
Success in allergy-friendly baking is entirely dependent on your ingredients. While you can’t always make swaps on a whim, understanding why each component is here will help you appreciate the complex, nutritious final product. We select foods that are whole, minimally processed, and functional.
Here is what you will need for this life-changing breakfast:
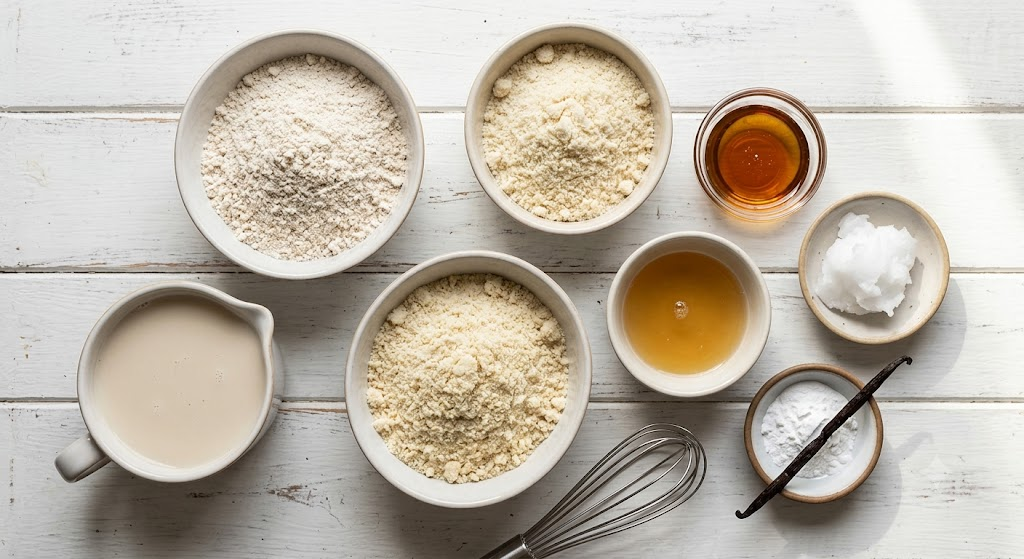
- Gluten-Free Flour Blend (Oat & Almond): We use a specific split. Certified GF Oat Flour provides the light, fluffy structure and that classic “cereal” taste. Almond Flour adds healthy fats (which improves browning and crispiness), a moist crumb, and a subtle nutty flavor, increasing the overall protein content.
- Tapioca Starch/Flour: Crucial for achieving the ‘chew’ and binding. It lightens the dense flours and creates that essential gluten-like elasticity.
- Aquafaba (The Secret Weapon): The liquid drained from canned chickpeas. Do not be intimidated! You won’t taste it. In this recipe, it acts as the primary emulsifier and binder, helping the waffle rise and brown effectively.
- Plant-Based Milk: We recommend almond or soy milk. The small amount of natural fat in these milks aids tenderness.
- Melted Coconut Oil or Avocado Oil: Essential for crispiness. Gluten-free waffles need healthy fats in the batter to keep them from adhering to the waffle iron and to create that desired crunch.
- Pure Maple Syrup or Coconut Sugar: We keep the sweetener low (just 1-2 tablespoons).
- Baking Powder & Baking Soda: Double leavening ensures a good lift.
- Apple Cider Vinegar: When combined with plant milk and baking soda, this creates the ‘buttermilk’ effect, giving the waffles a lighter, more tender crumb and improving the rise.
- Vanilla Extract & Pinch of Salt: Essential flavor enhancers.
This synergy of whole grains, nuts, and natural binders creates a profile that is satisfying, stable for blood sugar, and highly nutritious.
Chef’s Prep Secrets & Tips
Before we get the batter going, let’s talk about the key preparation steps that guarantee success. In “The Healthy Plate Lab,” precision is everything, especially when combining vegan and GF elements.
- The Flours Need to Be Fine: Ensure your almond flour is “super-fine” and blanched (skinless). Coarse almond meal will make the waffles dense and grainy.
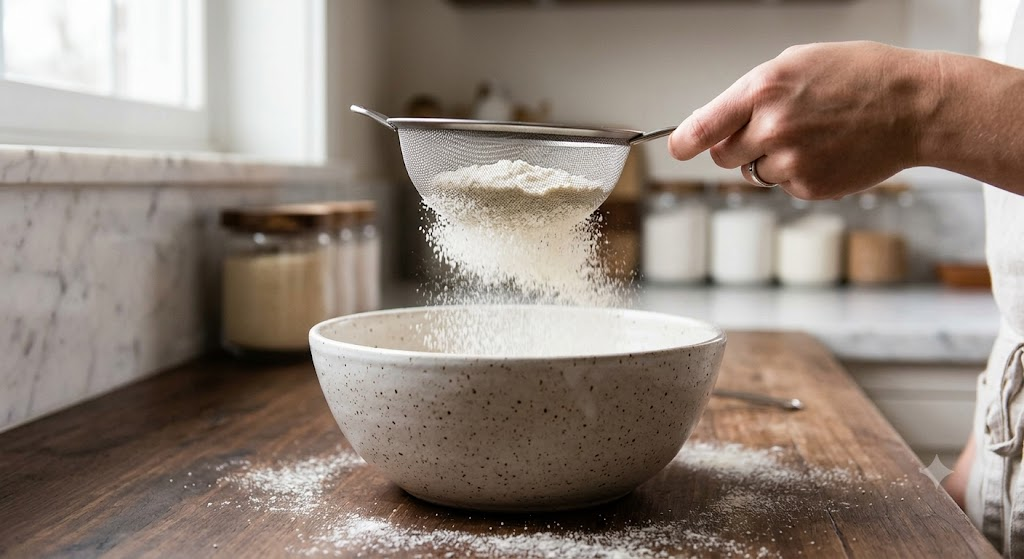
- Sifting is Crucial: Never skip sifting your dry ingredients. When dealing with dense flours (like oat and almond), sifting is your best way to aerate the mix, ensuring there are no clumps that will remain after mixing. This is vital for a light waffle.
- Use Room Temperature Liquids: Your aquafaba, plant milk, and oil must be at room temperature. If they are cold, and you add melted coconut oil, the oil will solidify instantly, creating clumps and preventing the batter from emulsifying properly.
- Activate the ‘Buttermilk’: Make your “vegan buttermilk” first. Combine the plant milk and apple cider vinegar and let it sit for 5-10 minutes. It will slightly curdle and thicken. This reaction is what activates the baking soda later for that essential lift.
- Let the Batter Rest: This is the #1 rule of GF baking. After mixing, let your waffle batter sit for at least 10-15 minutes before cooking. This allows the fibers in the oat flour and the tapioca starch to absorb the liquids fully. A rested batter is thicker and yields a much better structure and crunch.
- Preheat Your Iron Aggressively: Your waffle iron needs to be hot before the first scoop of batter hits. Most modern irons have an indicator light; wait for it. A hot iron immediately seals the exterior, creating a crisp shell.
The preparation phase is about organization and respecting the science of these sensitive ingredients.
Step-by-Step Culinary Method
This is the moment of transformation. Follow these sensory cues to ensure your waffles are light, airy, and spectacularly crispy.
The Foundation: Mixing and Aerating
We begin with the dry mix, ensuring perfect distribution. Sifting the fine oat and almond flours (as seen in image_2.png) with the tapioca starch, baking powder, soda, and salt creates a light, uniform base. Use a large balloon whisk; you are aiming to eliminate lumps and incorporate as much air as possible into these dense flours. The mixture should feel light and powdery.
Next, in a separate jug, prepare the wet ingredients. Combine your activated ‘vegan buttermilk’ (plant milk + vinegar) with the room-temperature aquafaba, melted oil (which should remain liquid!), vanilla, and sweetener. Whisk this mixture vigorously. The aquafaba will slightly foam up, which is a good sign—it means the emulsifying proteins are active.
Make a large well in the center of your dry ingredients. Pour the wet mixture into the well. Use a large rubber spatula to gently fold the flours into the liquid. Do not overmix. Gently folding means scraping the bottom of the bowl and turning it over onto the top. Stop as soon as you no longer see streaks of dry flour. The batter should be slightly lumpy and thick—much thicker than pancake batter. This is where you stop and let it rest for 15 minutes!
The Transformation: Heating and Crisping
Now, prepare your cooking station. Your waffle iron should be fully preheated. This is critical. Spray the grates lightly but thoroughly with a high-heat oil (like avocado oil spray), even if your iron claims to be non-stick.
Give the rested batter one final, gentle fold. You will notice it has become significantly more viscous and slightly puffed. This is the activation of the leavening and the hydration of the fibers.
Phase 1: Steam and Rise
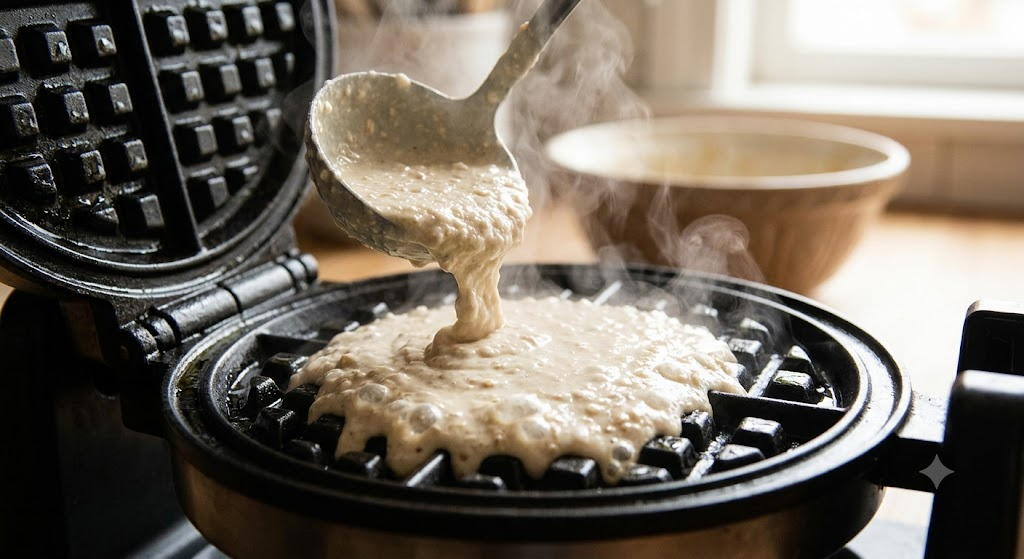
Spoon the thick batter onto the center of the bottom grate. For a standard Belgian waffle iron, this is about 2/3 cup. The batter should not flow to the edges easily; you should have to spread it slightly with the back of your scoop or spatula.
Close the lid quickly. Almost immediately, you will hear a loud, satisfying hiss and see a plume of dramatic white steam escape the sides. This is the crucial first minute. This steam is the moisture in the batter evaporating rapidly, pushing the waffles up (the rise) and setting the initial structure. Do not ever open the lid during this phase. If you do, you will release the steam and the waffle will collapse into a gummy mess. The volume of steam is your visual cue that the inside is cooking.
Phase 2: Setting and Crisping
After 2-3 minutes, the loud hissing and dramatic steaming will subside significantly. This indicates that the internal moisture has cooked off, and the waffle is transitioning from cooking to crisping. This is the point where the healthy fats (almond flour oil and coconut oil) begin to fry the exterior against the hot grates.
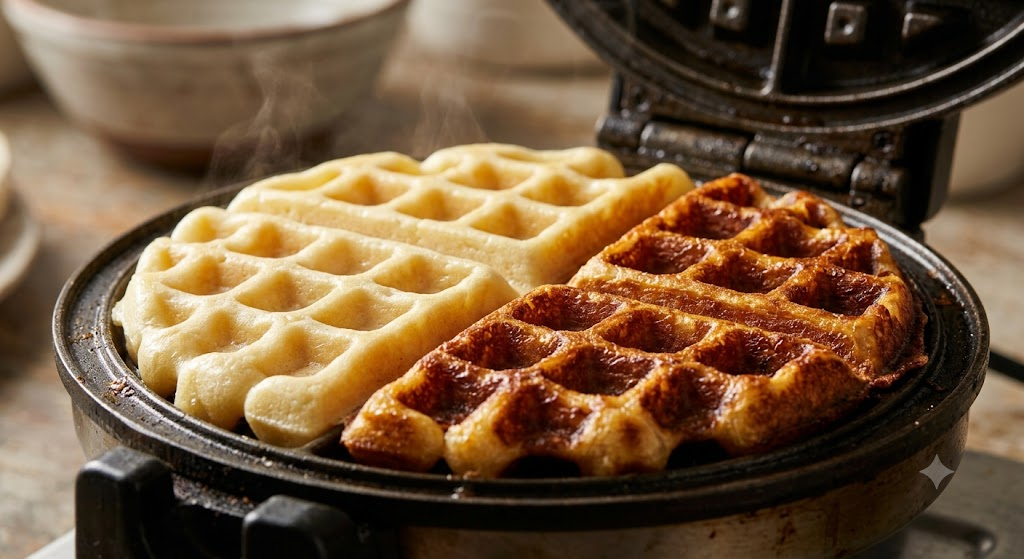
Wait for the Visual Cue: The timer on your iron might go off, but we use a sensory check: look for no steam escaping the sides. When the steam stops, the exterior is dry and crisp. Now you may gently lift the lid to check. The waffle should release cleanly from the top grate. It will have transformed from a pale, thick liquid (as seen in image_3.png) into a gorgeous, rigid structure with defined, golden-brown deep pockets and crispy edges (as seen in image_4.png).
Gently lift the waffle out with a heat-proof fork. It should feel light and rigid, not heavy or flexible.
The Golden Rule of Texture: Do not stack your fresh, hot waffles! If you stack them, the trapped steam will immediately soften that crisp exterior you just worked so hard to achieve. Instead, place them in a single layer on a cooling rack set inside a warm oven (200°F/95°C) while you cook the remaining batter. This keeps them warm and perfectly crisp.
Plating & Final Presentation
You’ve put in the ‘lab work,’ and now it’s time for the reward. The presentation should match the effort: vibrant, fresh, and irresistibly cozy.
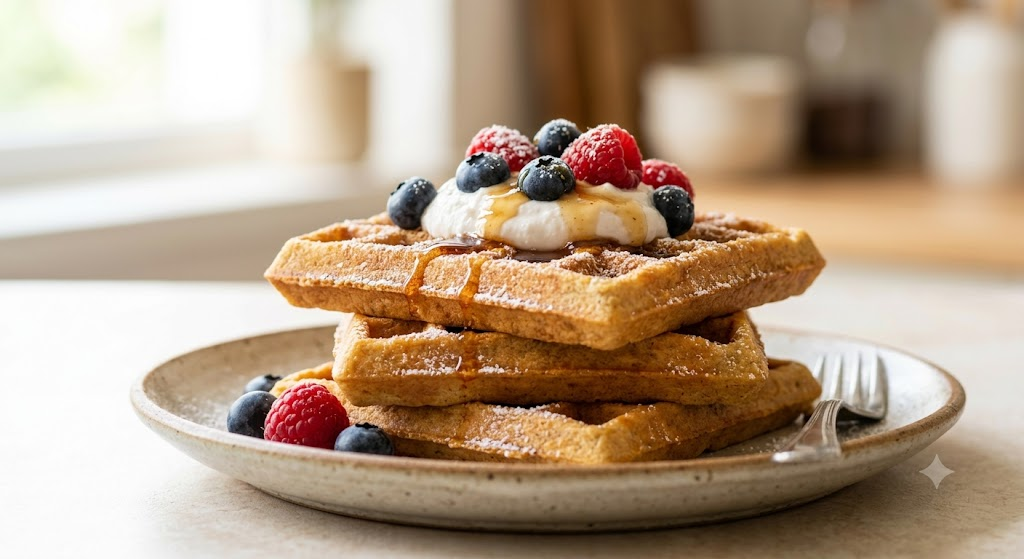
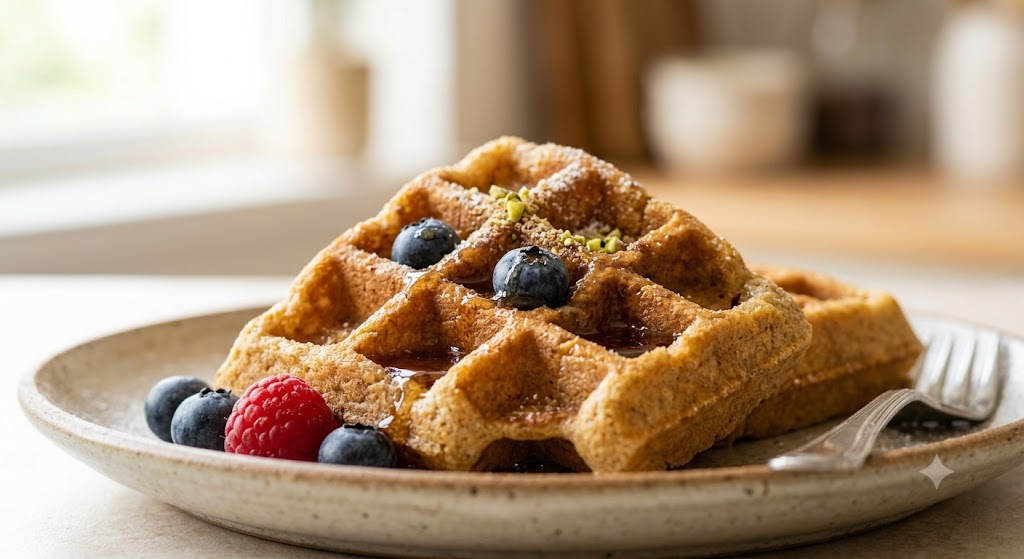
Transfer a stack of two or three warm, golden-brown waffles to a rustic ceramic plate (as showcased in our hero shot, image_0.png). Notice how the deep pockets are defined and rigid, ready to hold toppings.
To complement the light, slightly nutty flavor of the oat and almond flours, we recommend a mix of sweet and creamy toppings. Start with a generous dollop of whipped coconut cream or a high-quality vegan Greek-style yogurt—the coolness creates a delightful contrast with the hot waffle. Pile on fresh organic berries: blueberries and raspberries add bursts of tart, vibrant flavor and antioxidants. A light dusting of powdered coconut sugar (for that classic look) is optional.
The final touch is the syrup. Use 100% pure amber maple syrup, and pour it slowly. The light catching the amber liquid as it cascades over the berries and settles into the deep, golden pockets is a moment of pure culinary magic. Serve immediately with a small fork.
Garnish Idea: A tiny sprinkle of hemp seeds or toasted almond slivers can add an extra nutritional boost and textural element.
Frequently Asked Questions
When combining dietary restrictions like vegan and gluten-free, questions are natural. Here are the most common queries we receive in The Healthy Plate Lab regarding this recipe.
Can I use a different gluten-free flour blend? This is the question we get most often! While some 1-to-1 all-purpose GF blends (containing xanthan gum) might work, they often lack the specifically tested ratios of oat, almond, and tapioca. We developed this blend without xanthan gum to avoid a gummy texture. For the best result and maximum crispiness, we strongly recommend sticking to the flours specified. If you swap, the texture and structure will change.
What is the best substitute for aquafaba? If you cannot use aquafaba, the closest alternative would be a commercially available vegan egg replacer (like JUST Egg) or a flax egg (1 tbsp ground flax meal + 3 tbsp warm water, gelled). However, aquafaba provides a unique lift and emulsification that other substitutes struggle to match, which is why it’s our choice for this recipe.
How do I make these waffles even crispier? Ensure your waffle iron is hot before adding batter. Make sure you are using 1 tablespoon of melted coconut oil in the batter, as this fat aids the crisping process. Lastly, the cooling rack trick: let the finished waffles rest on a wire rack in a 200°F (95°C) oven, which draws out any lingering moisture and sets the crunch.
| Nutrient | Amount Per Serving |
| Calories | 215 |
| Total Fat | 10g |
| Saturated Fat | 2g |
| Sodium | 180mg |
| Total Carbohydrates | 25g |
| Dietary Fiber | 6g |
| Sugars (incl. 2g added) | 3g |
| Protein | 7g |