Welcome to a guilt-free indulgence! Our Ultimate Healthy Boston Cream Pie reimagines the classic dessert into a nutritional powerhouse. By swapping refined sugars for natural sweeteners, utilizing high-fiber flours, and boosting the protein content, we’ve created a cake that satisfies your sweet tooth while fueling your body. This version is low-carb, high-protein, and packed with flavor, making it the perfect dessert for anyone seeking a healthier alternative without sacrificing taste.
Ingredients
To craft this healthier Boston Cream Pie, we will need the following wholesome ingredients.
For the High-Protein Sponge:
- 1 cup Almond Flour
- ¼ cup Coconut Flour
- ½ cup Vanilla Protein Powder
- 1 tsp Baking Powder
- ¼ tsp Salt
- 4 large Eggs, room temperature
- ½ cup Granulated Erythritol (or preferred sweetener)
- ⅓ cup Unsweetened Almond Milk
- 1 tsp Vanilla Extract
For the Low-Carb Vanilla Pastry Cream:
- 1 ½ cups Unsweetened Almond Milk
- 3 large Egg Yolks
- ⅓ cup Granulated Erythritol (or preferred sweetener)
- 2 tbsp Cornstarch (or 1 tsp Xanthan Gum for Keto)
- 1 tsp Vanilla Extract
For the Sugar-Free Chocolate Glaze:
- ½ cup Sugar-Free Dark Chocolate Chips
- 1 tbsp Coconut Oil
- 1 tbsp Unsweetened Cocoa Powder
- 2-3 tbsp Unsweetened Almond Milk (to thin)
Instructions
Step 1: Prepare the High-Protein Sponge
Before we begin mixing, we need to prepare our station. This recipe moves quickly once the baking starts!
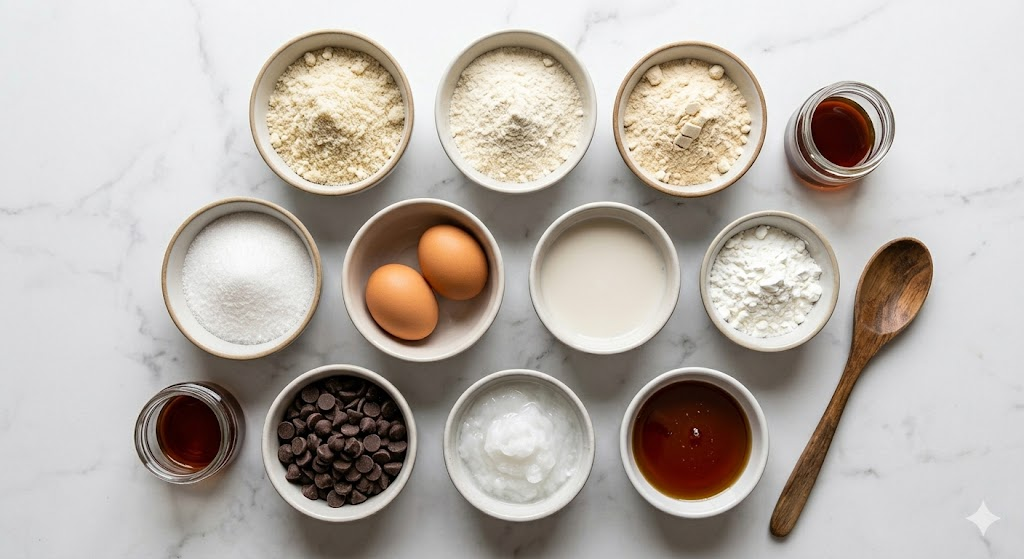
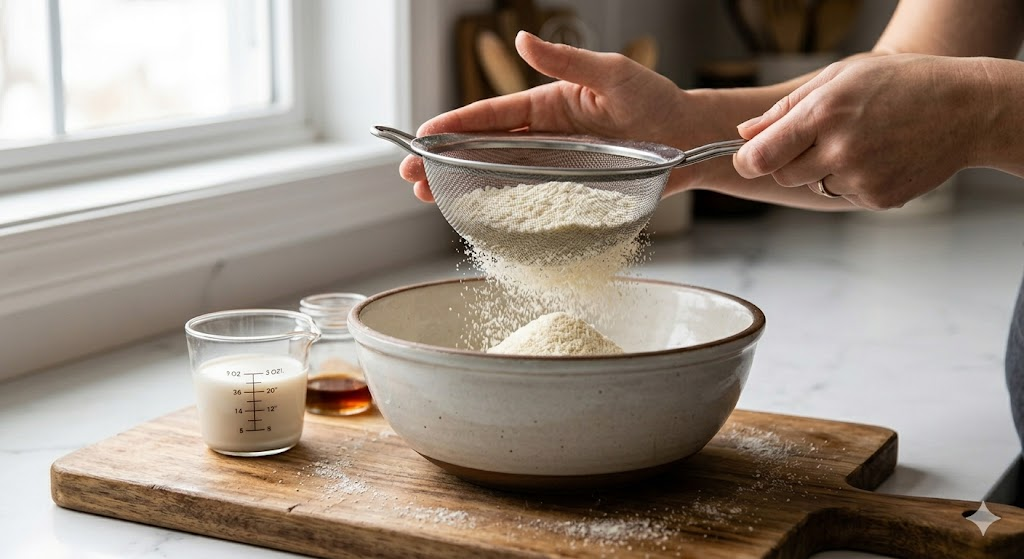
Preheat your oven to 350°F (175°C). Grease and line two 8-inch round cake pans with parchment paper. In a medium bowl, whisk together the almond flour, coconut flour, protein powder, baking powder, and salt (all shown in the flat lay image above).
In a separate large bowl, use a hand mixer to beat the eggs and erythritol together until the mixture is pale and fluffy (about 3-5 minutes). This aeration is crucial for a light sponge. Gently fold in the almond milk and vanilla extract.
Slowly add the dry ingredients to the wet ingredients, folding gently with a spatula until just combined. Do not overmix. Divide the batter evenly between the prepared pans.
Step 2: Bake the Cakes
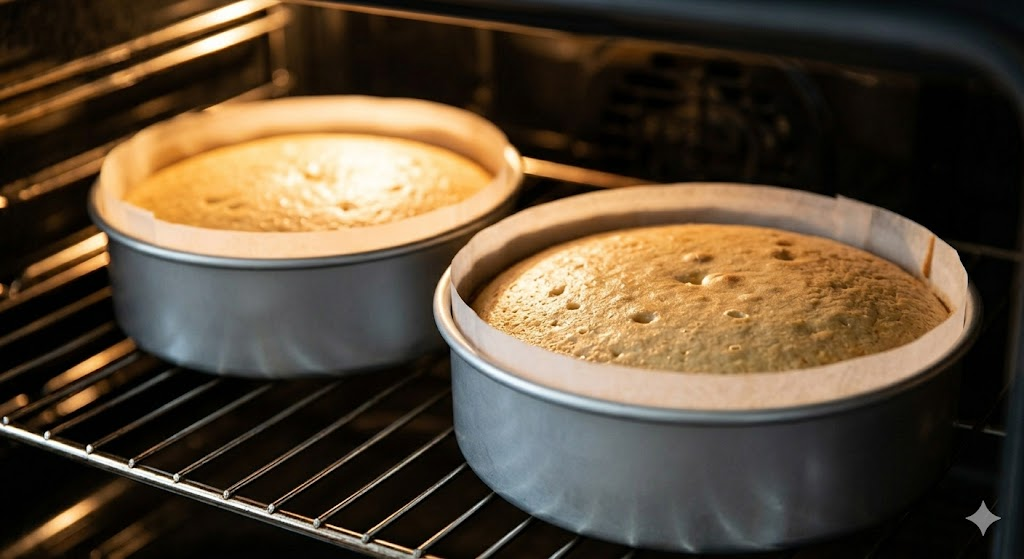
Bake for 20-25 minutes, or until the cakes are golden brown and a toothpick inserted into the center comes out clean.
Step 3: Cook the Low-Carb Pastry Cream
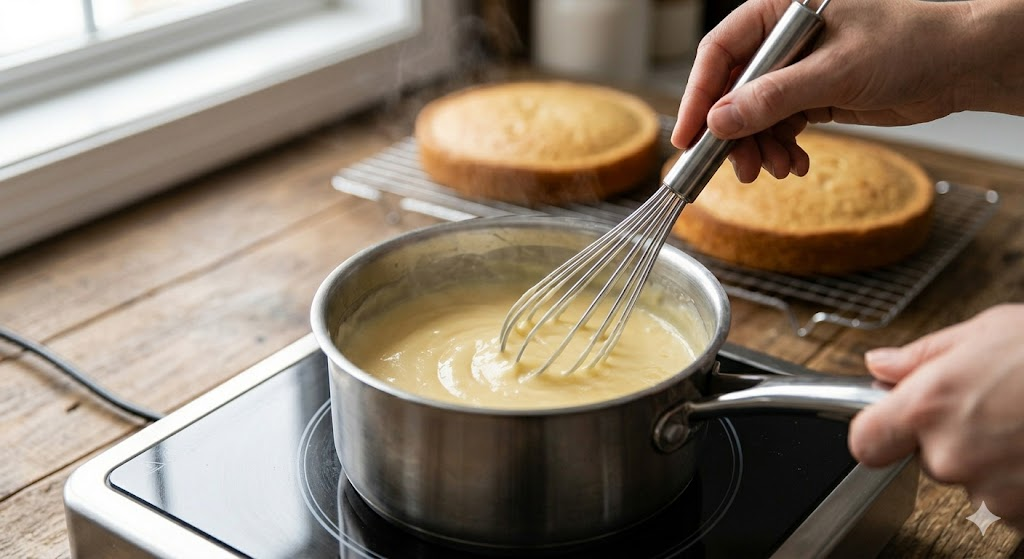
While the cakes are baking and cooling, let’s make the luscious vanilla filling. This is where the creamy texture comes from!
In a medium saucepan, heat the almond milk over medium heat until it just starts to simmer. While the milk heats, whisk the egg yolks and erythritol in a heatproof bowl until pale. Whisk in the cornstarch (or xanthan gum) until smooth.
Once the milk is simmering, slowly drizzle about half of the hot milk into the egg mixture, whisking constantly to temper the yolks. Pour the tempered egg mixture back into the saucepan with the remaining milk.
Cook over medium-low heat, stirring constantly, until the mixture thickens significantly and coats the back of a spoon (as seen in the cooking process image). Remove from heat and stir in the vanilla extract. Transfer the pastry cream to a bowl and cover the surface directly with plastic wrap (to prevent a skin from forming). Refrigerate until completely chilled and set.
Step 4: Assemble the Healthy Boston Cream Pie
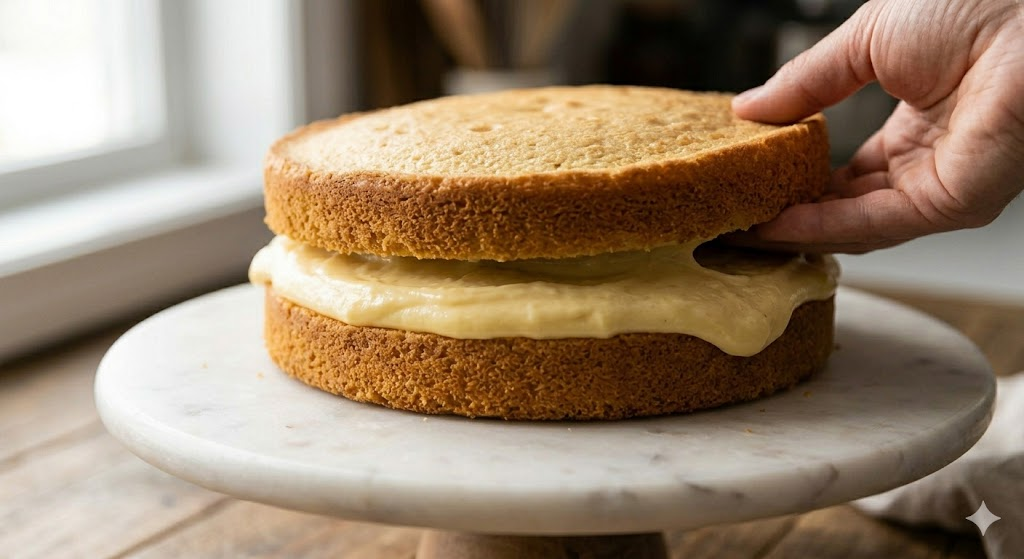
The cakes are cool and the pastry cream is set—it’s time to assemble!
Place one cake layer, flat-side down, on a serving platter. Give the chilled pastry cream a quick whisk to loosen it up, then spread it evenly over the cake, leaving a 1/2-inch border around the edge. Place the second cake layer on top of the pastry cream. (This assembly process is captured in the image above).
Step 5: Glaze and Serve
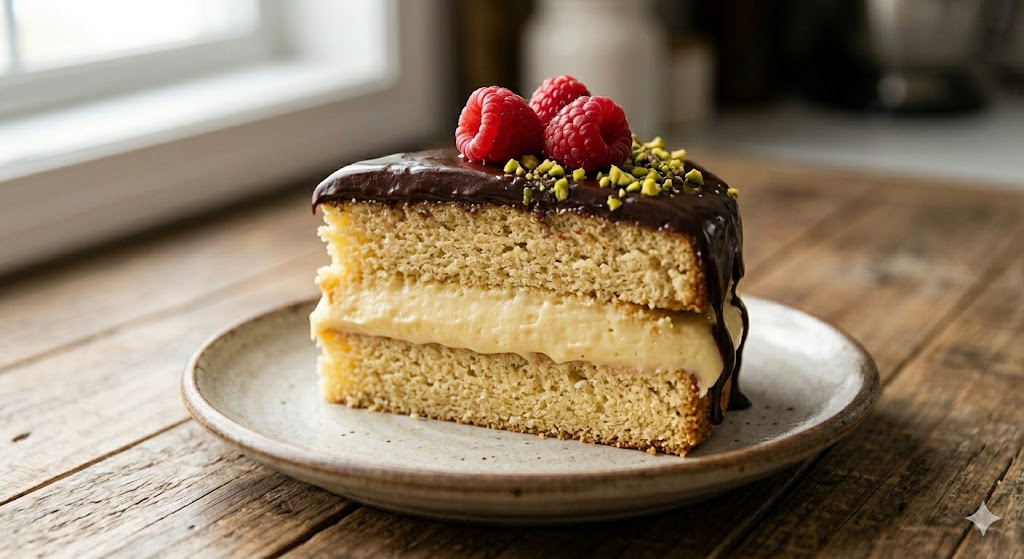
Make the glaze: In a small microwave-safe bowl, combine the sugar-free dark chocolate chips and coconut oil. Microwave in 20-second bursts, stirring in between, until melted and smooth. Whisk in the cocoa powder and almond milk, 1 tablespoon at a time, until the glaze is smooth and pourable but still thick.
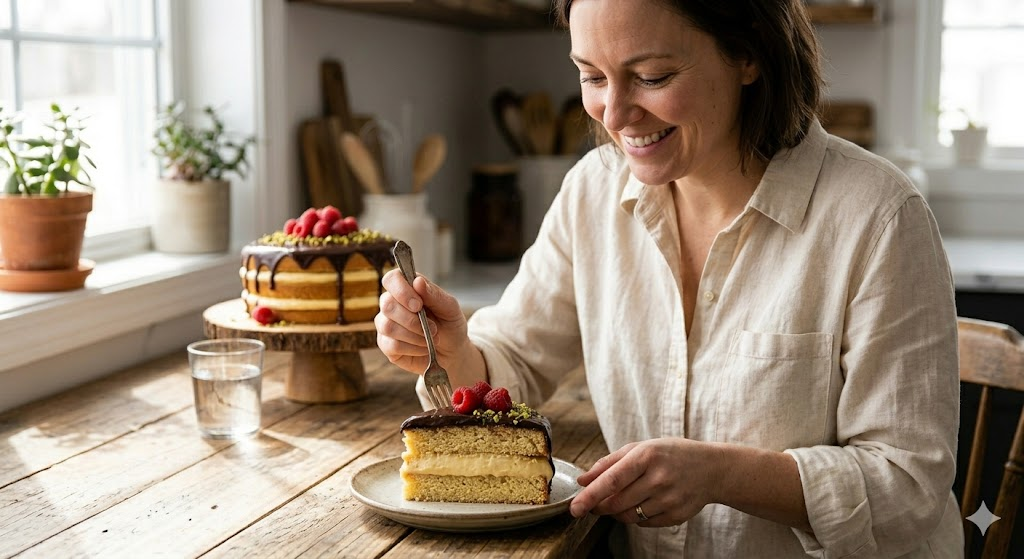
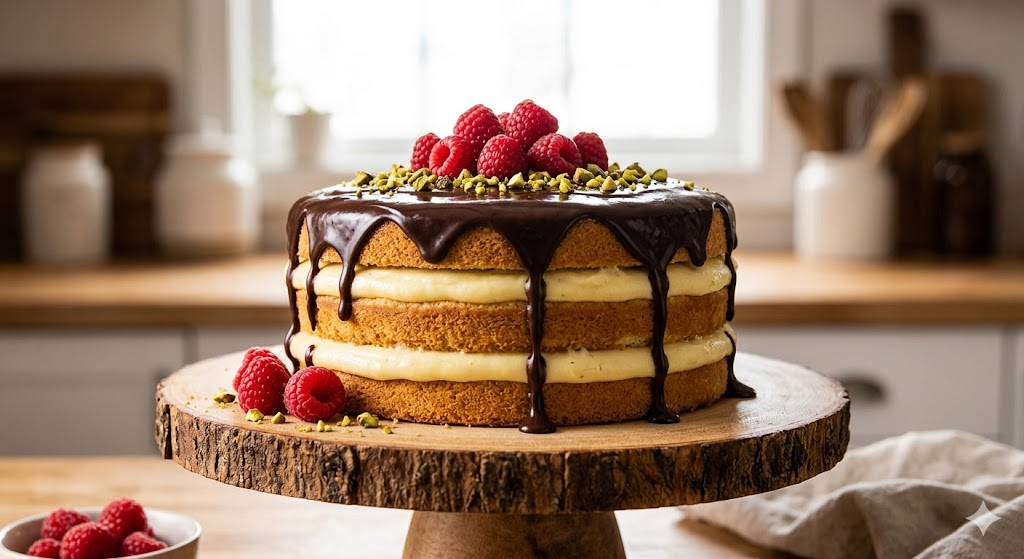
Pour the chocolate glaze over the top of the assembled cake, using a spatula to encourage it to drip down the sides (as shown in our beautiful finished close-up above). Garnish immediately with fresh raspberries and chopped pistachios if desired. Chill the cake for at least 30 minutes before slicing to allow the glaze to set.
Serving Suggestions
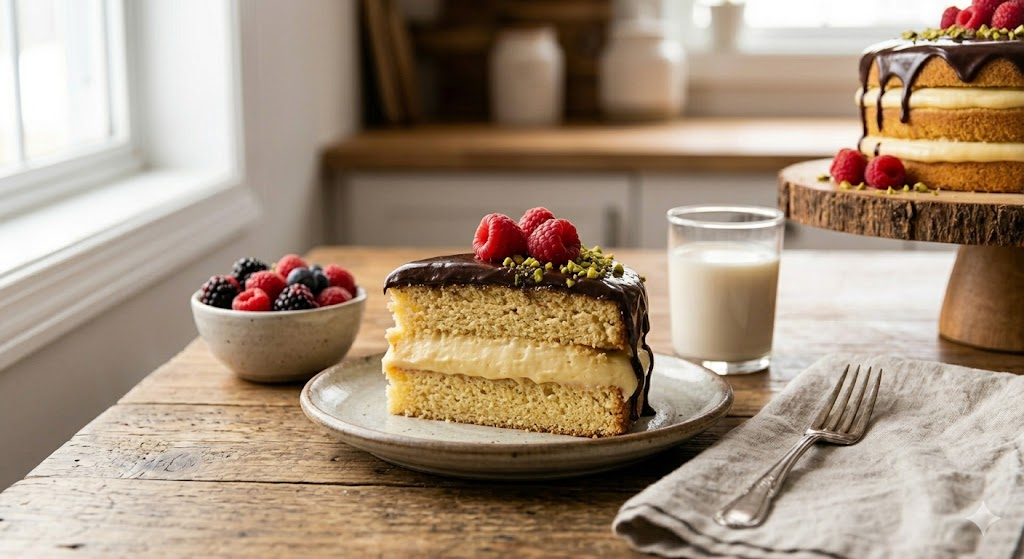
This cake is rich enough to stand on its own, but it pairs beautifully with fresh berries (like the raspberries shown above) or a small scoop of sugar-free vanilla bean nice cream. For a complete healthy dessert experience, serve a slice with a cup of hot herbal tea or a cold glass of unsweetened almond milk.
Storage and Meal Prep
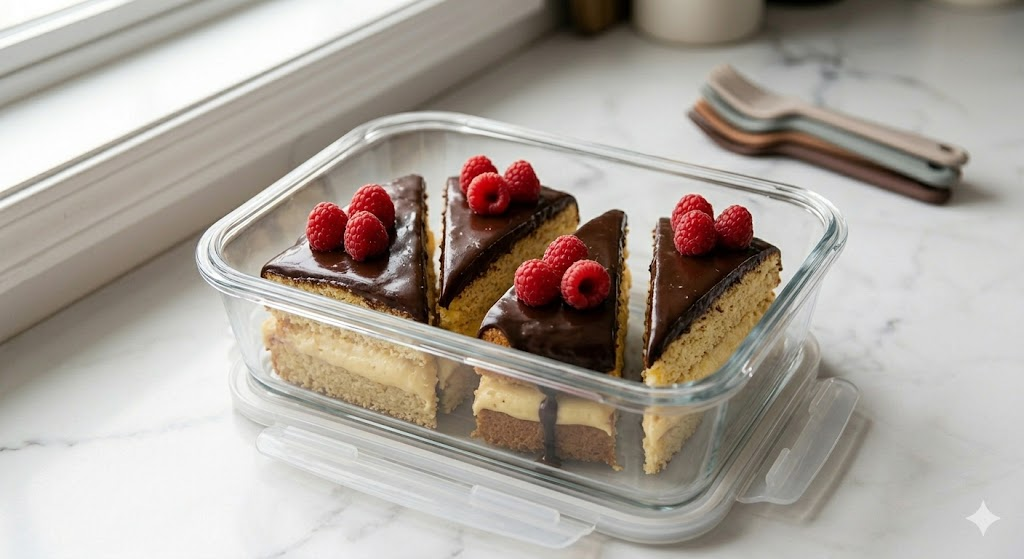
The assembled Boston Cream Pie is best stored in the refrigerator, where it will keep well for up to 3 days. Cover it loosely with plastic wrap or slice it and place it in airtight containers (as pictured above). The flavors actually meld and develop further after a day! We do not recommend freezing the fully assembled cake, as the pastry cream’s texture may become watery upon thawing. However, you can freeze the baked sponge layers (wrapped tightly) for up to 1 month.
Variations
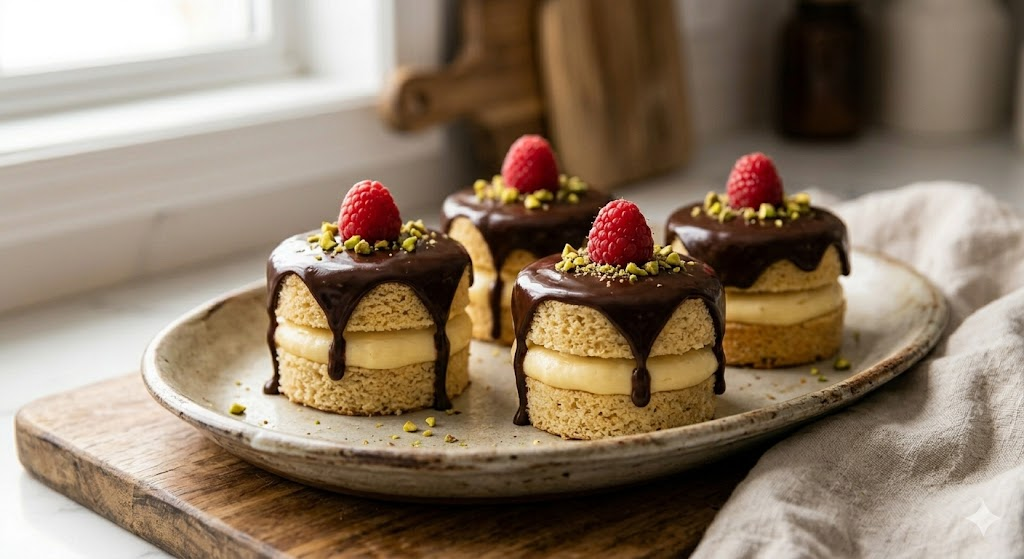
- Mini Boston Cream Pies: For an adorable and portion-controlled alternative, bake the batter in a muffin tin to create individual mini cakes. Once cool, slice them horizontally, fill them with a dollop of pastry cream, and top them with the chocolate glaze (as shown above).
- Keto Version: Ensure you use a Keto-approved granulated sweetener (like erythritol or monk fruit) and swap the cornstarch in the pastry cream for 1 teaspoon of xanthan gum.
- Chocolate Sponge: For a double chocolate experience, replace 2 tablespoons of the almond flour with unsweetened cocoa powder in the sponge cake recipe.
- Coffee Infusion: Add 1 teaspoon of espresso powder to the chocolate glaze for a subtle mocha flavor.
We hope this recipe redefines how you think about classic desserts! Enjoy the process of making this Healthy Boston Cream Pie, and savor every high-protein, low-carb bite. It’s the perfect example that you truly can have your cake and eat it too.