
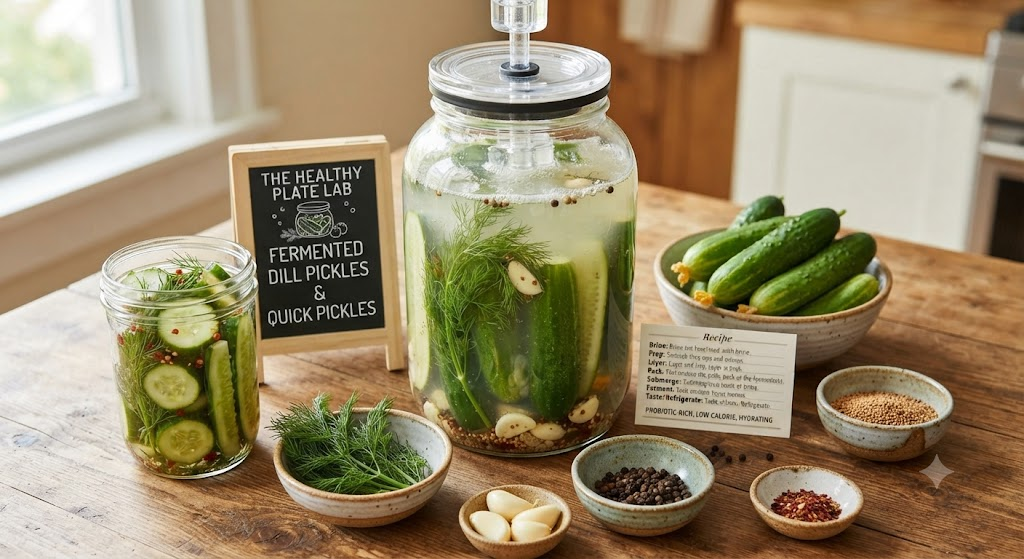
There’s a sound that tells you a pickle is doing exactly what it should — the sharp, hollow crack when you bite into it, followed by a bright, briny snap that’s completely different from the soft give of a store-bought jar. That crispness, paired with the sharp tang of vinegar and the herbaceous punch of fresh dill, is the entire point of making pickles at home.
The Story & Nutritional Philosophy
At The Healthy Plate Lab, we approach pickles as more than a crunchy condiment — they’re a genuinely functional food, provided they’re made the right way. This recipe offers two methods, a quick vinegar refrigerator pickle and a traditional lacto-fermented version, because the nutritional story differs meaningfully between the two, and we think it’s worth understanding why.
The fermented version is where the real nutritional magic happens. Lacto-fermentation relies on naturally occurring Lactobacillus bacteria converting the sugars in cucumbers into lactic acid, a process that not only preserves the vegetable but also generates live probiotic cultures linked in research to improved gut microbiome diversity and digestive function. This is the same family of bacteria found in yogurt and kimchi, just working on cucumbers instead. The quick vinegar version, while it doesn’t develop live probiotics, is still an excellent low-calorie way to add big flavor to meals with essentially zero added fat and minimal sugar, and it’s ready in hours rather than days.
Both versions are naturally vegan, gluten-free, and low-calorie, landing at just 10–15 calories per serving. Cucumbers themselves are over 95% water, making pickles one of the most hydrating, lowest-calorie-density snacks you can keep in your refrigerator, while the garlic and dill contribute allicin and antioxidant flavonoids respectively. Our Healthy Plate Lab approach was to keep the salt level functional rather than excessive — enough to support proper fermentation and food safety, without pushing sodium into territory that undermines the dish’s otherwise clean nutritional profile.
Ingredients & Nutritional Benefits
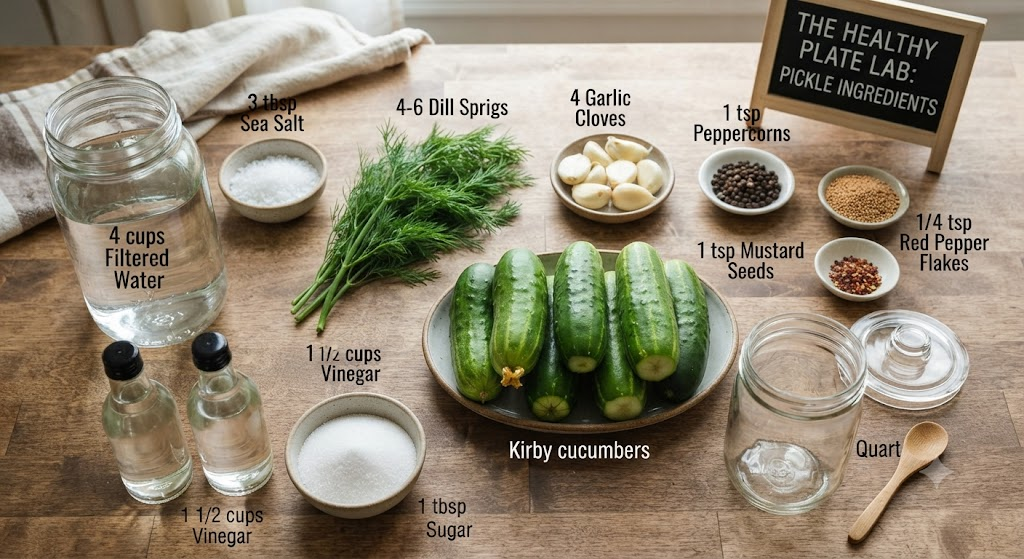
For the brine (fermented method):
- 4 cups filtered water — necessary for proper fermentation; chlorinated tap water can inhibit bacterial activity
- 3 tbsp sea salt or kosher salt — draws out moisture, supports safe fermentation
- 6–8 Persian or Kirby cucumbers — low-calorie, hydrating, ideal firm texture for pickling
- 4–6 fresh dill sprigs — antioxidant flavonoids, signature herbaceous flavor
- 4 garlic cloves, smashed — allicin, antimicrobial support
- 1 tsp whole black peppercorns — mild warmth, aromatic depth
- 1 tsp mustard seeds — traditional pickling spice, subtle sharpness
- 1/4 tsp red pepper flakes (optional) — gentle heat
For the quick vinegar method, substitute the brine with:
- 1 1/2 cups distilled white vinegar
- 1 1/2 cups water
- 1 tbsp sugar or honey
- 1 tbsp salt
Chef’s Prep Secrets & Tips
The single most important ingredient decision in this recipe is cucumber selection. Standard slicing cucumbers, the kind typically used in salads, contain too much internal moisture and will turn soft and mushy rather than staying crisp. Always choose Persian or Kirby cucumbers, which have denser flesh, thinner skin, and fewer seeds — all qualities that translate directly into a crunchier finished pickle.
Our crispness tip: trim a thin slice off the blossom end of each cucumber before pickling. The blossom end contains an enzyme that actively softens pickles over time, and removing it is one of the simplest, most effective ways to guarantee a crisp result.
If you’re fermenting, always use a fermentation weight or a small, clean glass to keep the cucumbers fully submerged beneath the brine. Any cucumber exposed to air is vulnerable to mold growth, while cucumbers kept fully submerged ferment safely and evenly.
Don’t skip the ice bath if you’re using the quick vinegar method. Chilling the cucumbers briefly before pouring hot brine over them helps them retain more of their raw crunch.
Step-by-Step Culinary Method
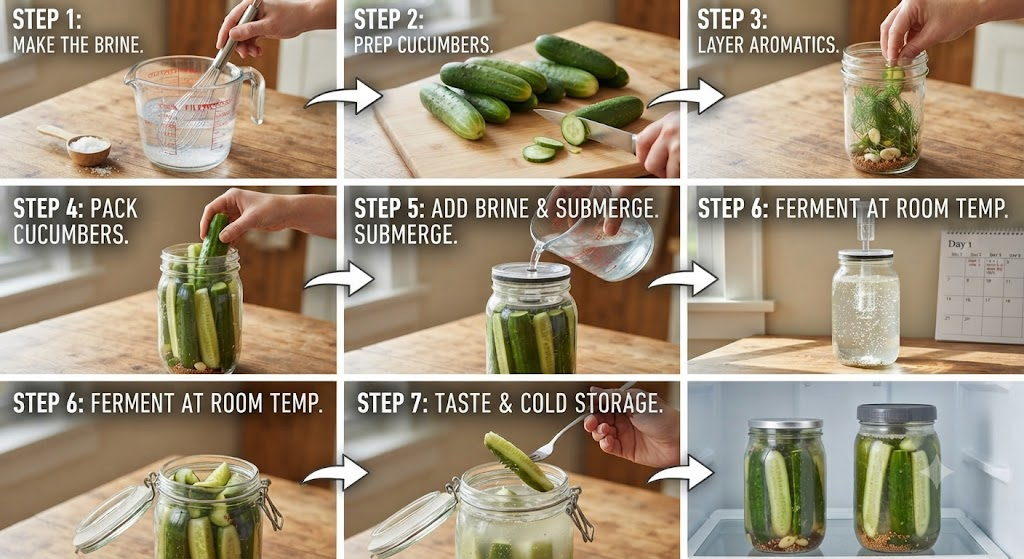
We’ll walk through the fermented method here, since it’s the more technique-intensive of the two and offers the greatest nutritional payoff.
Step 1: Make the brine. In a large jar or bowl, dissolve the salt completely in the filtered water, stirring until the liquid runs clear rather than cloudy with undissolved granules. This ratio — roughly 3 tablespoons of salt per 4 cups of water — creates a brine strong enough to favor beneficial Lactobacillus bacteria while suppressing harmful microorganisms.
Step 2: Prep the cucumbers. Trim the blossom end from each cucumber and give them a firm scrub under cold water. If using larger cucumbers, halve or quarter them lengthwise into spears; smaller Persian cucumbers can be left whole for a classic presentation.
Step 3: Layer the aromatics. In a clean quart-sized jar, layer the smashed garlic, dill sprigs, peppercorns, mustard seeds, and red pepper flakes if using, distributing them roughly evenly rather than clustering them all at the bottom.
Step 4: Pack the cucumbers. Pack the cucumbers into the jar as snugly as possible without crushing them, standing spears upright when feasible. Tight packing helps keep the cucumbers submerged and slows oxygen exposure.
Step 5: Add the brine and submerge. Pour the salt brine over the cucumbers until fully covered, leaving about an inch of headspace at the top of the jar. Place a fermentation weight or small glass on top to keep everything beneath the liquid line.
Step 6: Ferment at room temperature. Cover loosely with a cloth or a fermentation lid that allows gas to escape, and let the jar sit at room temperature, out of direct sunlight, for 3 to 7 days. Check daily: you’ll notice small bubbles rising through the brine after about 24–48 hours, a clear visual sign that fermentation is active. The brine will gradually turn slightly cloudy, and the aroma will shift from a clean, garlicky smell to something tangier and more complex, almost sour and yeasty.
Step 7: Taste and transfer to cold storage. Starting around day 3, taste a pickle daily using a clean utensil. Once the flavor reaches the tanginess you like — typically day 4 to 7 depending on room temperature — transfer the jar to the refrigerator, which dramatically slows fermentation and preserves the flavor at that stage.
Plating & Final Presentation
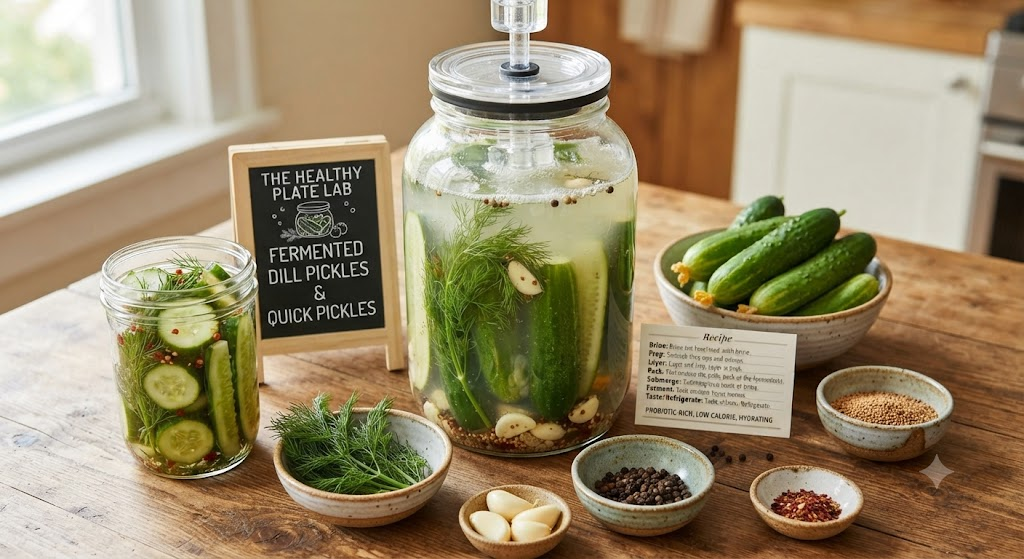
Serve pickles chilled, sliced into spears or coins depending on preference, arranged on a rustic wooden board alongside fresh dill sprigs and a small dish of the reserved brine for dipping. For an elevated presentation, halve a few pickles lengthwise to show off the seed pattern and pale green interior against the deep green skin, and finish with a light scatter of flaky salt and a few cracked peppercorns.
Frequently Asked Questions
Why did my fermented pickles turn soft? This usually means the cucumbers weren’t fully submerged, the blossom end wasn’t trimmed, or older, less-fresh cucumbers were used.
Is a little cloudiness in the brine normal? Yes — cloudiness is a natural sign of active fermentation, not spoilage. Discard only if you see fuzzy mold or detect a distinctly foul, rather than sour, smell.
How long do fermented pickles last? Once refrigerated, they’ll keep well for 1–2 months, continuing to develop flavor slowly over time.
Can I reuse the brine? It’s best to make fresh brine for each new batch, since the bacterial balance and salt concentration shift after the first fermentation.
Is the quick vinegar method as healthy? It’s still low-calorie and additive-free, but it won’t contain the live probiotic cultures found in the fermented version.
Final Nutrition Facts Table (Per Serving, About 2 Pickle Spears)
| Nutrient | Amount |
|---|---|
| Calories | 12 kcal |
| Protein | 0.5 g |
| Total Fat | 0 g |
| Carbohydrates | 2.5 g |
| Fiber | 0.5 g |
| Sugars | 1 g |
| Sodium | 380 mg |
| Vitamin K | 15% DV |